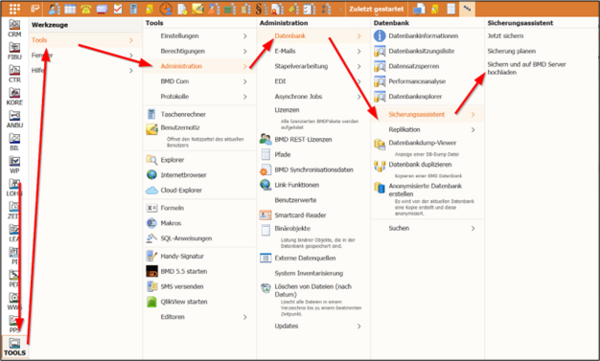
1. Uploading a backup to BMD
The backup assistant in BMD NTCS is primarily intended for stand-alone installations. When installing BMD NTCS on a server, follow the steps described below directly on the server. For every customer, there is a separate area in the BMD cloud explorer that is backed up separately.
PLEASE NOTE!
If you get an error message, you do not have sufficient permission and you have to start BMD NTCS by right-clicking and selecting “Run as administrator”.
1.2. Storage location of the backup file
As a next step, specify where the backup file is to be saved. You can only use a local drive, not a network drive (restriction by SQL).
1.3. Notification by email
Here, you can specify whether you want the backup file to be deleted after the upload and whether you want to receive an email notification when the upload is complete. You should enter the email address that our support staff has provided.
You also have the option to anonymise the backup of the database before uploading it. This function is provided with regard to the EU General Data Protection Regulation GDPR.
PLEASE NOTE!
The connection is established via TCP port 21, while the encrypted data are transmitted via TCP ports 5000 - 5100. Your IT department might have to open access to these ports. If connection via ports 5000 - 5100 is not possible, the transmitted data will not be encrypted.
Subsequently, your default email program will generate and send an email (if you have specified an email address beforehand).
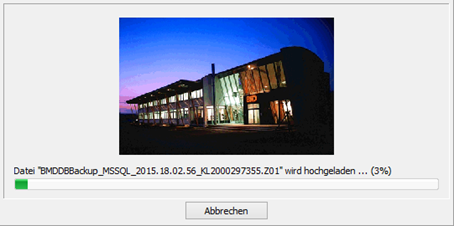
Once the process has completed, you will be notified that the upload was successful.
2. Downloading a database backup from BMD
In BMD NTCS you also have the option to download files provided by the BMD support (e.g. a revised version of the BMD NTCS database).
Here, you can view all the files available in your own area in the BMD cloud explorer.
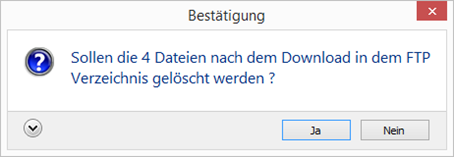
If you do not mark the data for deletion, they are automatically deleted after 7 days.


